Golf Setup and Posture Without Forced Positions
Set up for balance, space, and a clean strike
A good golf setup places the feet, hips, torso, arms, and ball so you can turn without losing balance and let the club reach the ground where intended. It should feel athletic, not posed. Begin with the clubface and ball, then build your body around them.
Bodies and clubs differ. Use these checkpoints as a starting point, and stop if a position causes joint or back pain.
Build posture from the hips
Stand tall with feet around a comfortable athletic width for the club. Soften the knees, hinge forward from the hip joints, and let the arms hang naturally beneath the shoulders. Keep the spine long without forcing it rigid or arching the lower back.
Balance should feel centered through the feet, not trapped on toes or heels. Reset by standing upright, softening the knees, and hinging again without squatting excessively. Do not add a hop or impact movement to a posture drill.
Stop if the position causes pain. A qualified coach and clinician can adapt setup for mobility or injury needs.
Find distance from the ball
With arms hanging and hands joined on the club, allow a comfortable gap between hands and thighs. Crowding can force the handle outward; standing too far can pull weight toward the toes and disconnect the arms.
The correct distance changes with club length and posture. Do not copy a fixed hand-to-leg measurement from a different person. Use centered contact and balance as feedback.
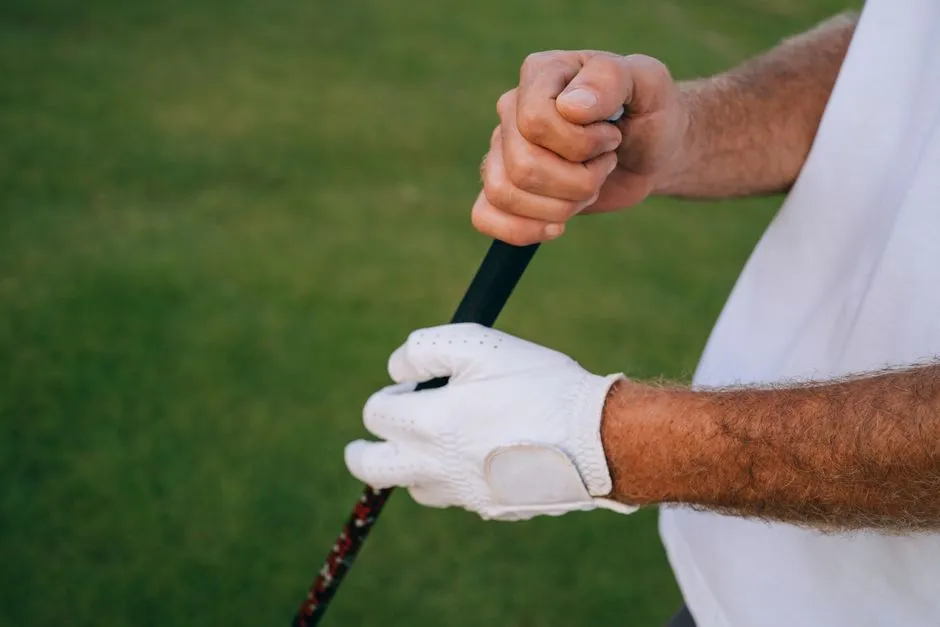
The grip guide ensures the handle is secured before the body starts making compensations.
Set stance and tilt for the club
Shorter irons commonly use a narrower stance than a driver, while longer clubs often invite more width and some trail-side tilt. The ball and club design influence how the sole meets the ground.
Use the ball-position guide rather than placing every shot in the same spot. After positioning the ball, recheck that the shoulders and hips did not quietly aim elsewhere.
Test the setup dynamically
Before any rehearsal, confirm every person is clear of the full club arc and likely ball path. Make three slow back-and-through motions without a ball. Can you turn while keeping pressure supported inside the feet? Do the arms have room? Does the club brush the ground near the intended spot without reaching or standing up?
Then hit five half-swings. Mark strike location on the face with an approved method and observe divot or turf contact where facility rules allow. Adjust distance and posture in small steps.
Separate alignment from posture
A comfortable stance can still aim wrong. Set the clubface to an intermediate target, then arrange feet, knees, hips, and shoulders broadly parallel to the intended start line for a stock shot. The alignment guide explains the train-track picture and its limits.
Practice with ground sticks only where safe; never leave them where someone can step or swing onto them.
Create a short setup routine
Face, grip, feet, hinge, soften, look. That sequence is short enough to repeat and clear enough to diagnose. If a shot goes poorly, step away and rebuild instead of wriggling through twelve emergency adjustments.
Setup will not guarantee a good swing. It gives you a stable reference that can be rebuilt and checked before changing the motion.
Before every rehearsal or shot, confirm that nobody is inside the full clubhead arc or likely ball path. Confirm the landing area is clear, and never swing or hit while anyone is in range.
Stop immediately if force, rotation, or repetition causes pain, numbness, tingling, weakness, dizziness, or loss of control. Persistent, recurring, or concerning symptoms require assessment by a qualified clinician; a qualified golf coach can review technique only after the immediate health concern is addressed.