Putting Setup Basics for a Stable Stroke
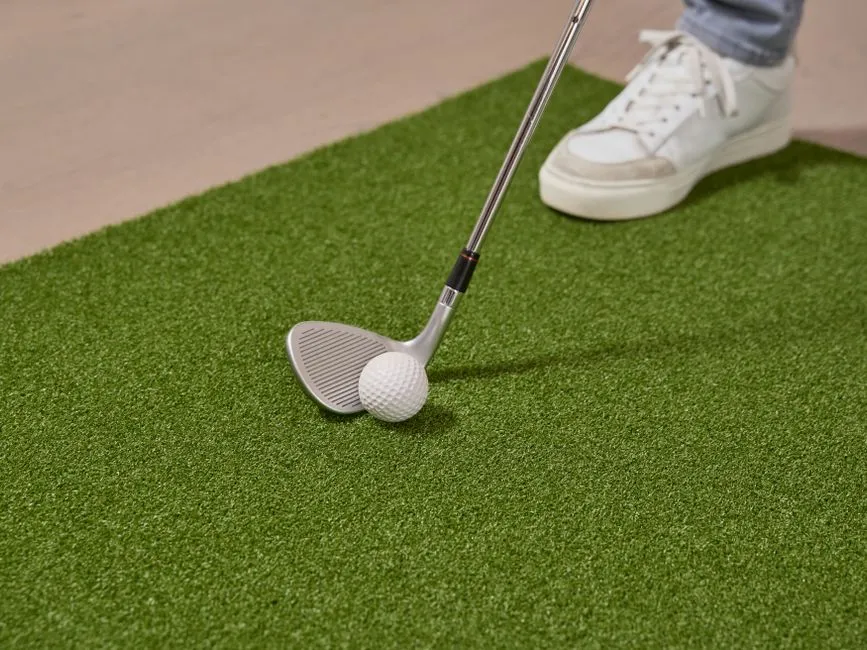
Build a setup that lets the putter swing
A stable putting setup places the eyes where you can aim comfortably, lets the arms hang, keeps the lower body quiet without becoming rigid, and sets the putter face to the intended start line. There is room for individual posture and grip style. The test is whether the ball starts where aimed with predictable pace.
Use a comfortable posture. If hinging causes neck or back pain, stop and have persistent or concerning symptoms assessed by a qualified clinician before a qualified golf coach reviews technique.
Aim the face before the feet
Read the putt, choose a start line, and place the putter face square to a nearby mark on that line. Then set the feet, hips, and shoulders comfortably around the face.
Use the putter's alignment marks if they help. If they create visual confusion, focus on the face and a simple ball line. Aim is personal enough that a coach fitting your visual tendencies can be valuable.
Let the arms hang
Hinge from the hips with soft knees until the arms can hang beneath the shoulders. Hold the putter without reaching or crowding. The eyes may sit over the ball, slightly inside, or elsewhere depending on the player and putter; consistency and aim matter more than a universal plumb line.
Drop a ball safely from the eye line as a rough check, but do not turn that drill into a rule that overrides comfort or start direction.
Choose a grip that quiets excess motion
Players use reverse-overlap, cross-handed, claw, and other grip styles, but suitability depends on comfort, control, equipment, and the rules applying to the event. Begin with a simple grip that places the palms broadly facing and pressure balanced. Hold firmly enough for face control without squeezing tension into shoulders.
Check current competition rules before using an unusual anchoring or equipment method. This site does not certify legality for a specific event.
Set ball position and pressure
Many players start with the ball slightly forward of stance center and pressure balanced or modestly favoring the lead side. This can support a clean strike as the putter rises slightly, but stroke and putter differ.
Use face tape or an approved marker to check contact. If strikes cluster low, high, heel, or toe, adjust posture, distance, and ball position in small steps.
Run a start-line gate
Place two tees just wider than the putter head and two more a short distance ahead, wider than the ball. Choose an open station, keep nearby players clear of the putter arc and roll, and do not interfere with another player's line. Make strokes through the first gate and roll the ball through the second. Keep all tees safely low and follow green rules.
Hit ten putts from a short straight location. Record face contact and gate success. Then move to distance-control practice so the start-line work is paired with usable pace.
Add green reading and routine
Use the green-reading guide before setting up. Once over the ball, use one final look, settle the face, confirm grip pressure, and make the stroke.
Include putting in the 30-minute practice plan. Setup should support repeatable start line and pace without pain. Stop for neck or lower-back discomfort; have persistent or concerning symptoms assessed by a qualified clinician before a qualified golf coach reviews technique.
Before every rehearsal or shot, confirm that nobody is inside the full clubhead arc or likely ball path. Confirm the landing area is clear, and never swing or hit while anyone is in range.
Stop immediately if force, rotation, or repetition causes pain, numbness, tingling, weakness, dizziness, or loss of control. Persistent, recurring, or concerning symptoms require assessment by a qualified clinician; a qualified golf coach can review technique only after the immediate health concern is addressed.